|
K&N Generation II
Here are the pictures of my new intake system
For all you curious S-10 owners with the 4.3L here you go. I dont notice any big gains in power, but I'm sure they are there. It now makes a very deep loud sound as it gobbles up air, above 2000 rpms. I beleive that with the y-pipe and exhaust all working togeter, there will be a noticable gain in power. The system comes with great instructions and is a very easy install.
|
|
|
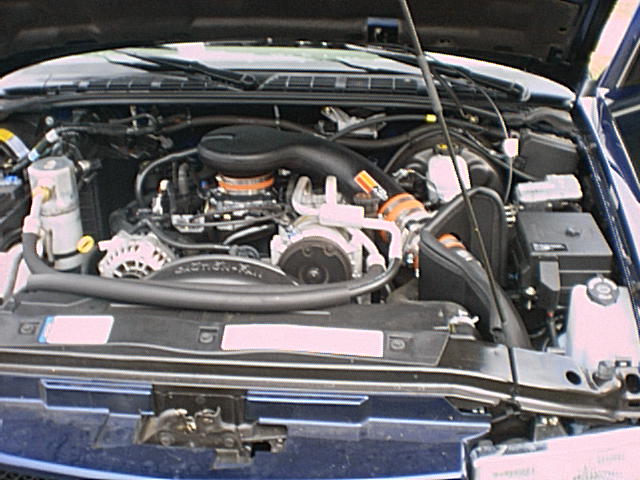
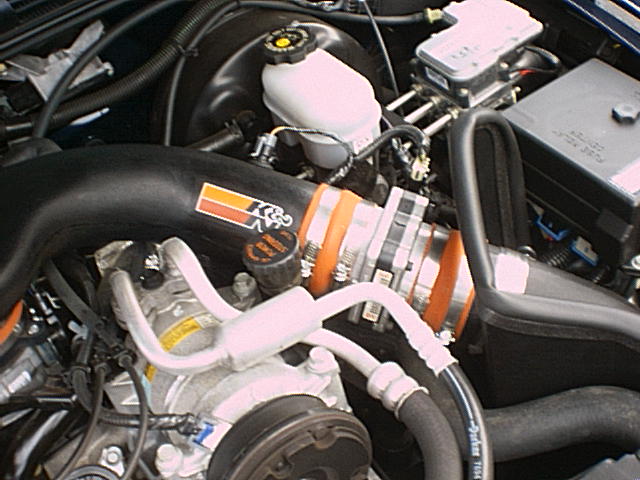
Here is the complete system installed.
The total install took about 2 hrs. It looks lots better than the factory system, dont you think?? |
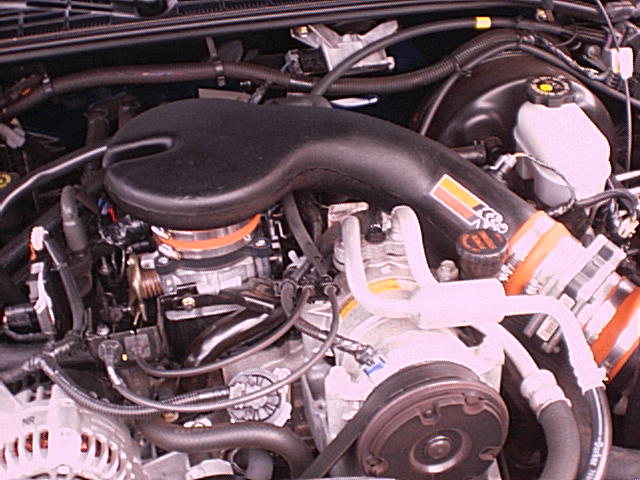
This is the upper intake tube.
The system comes in two pecies. The upper intake tube goes from the throtle body to the mass air sensor. It also includes the air temp. sensor, which I had to enlarge the hole a little to get it to fit. |
|
|
|
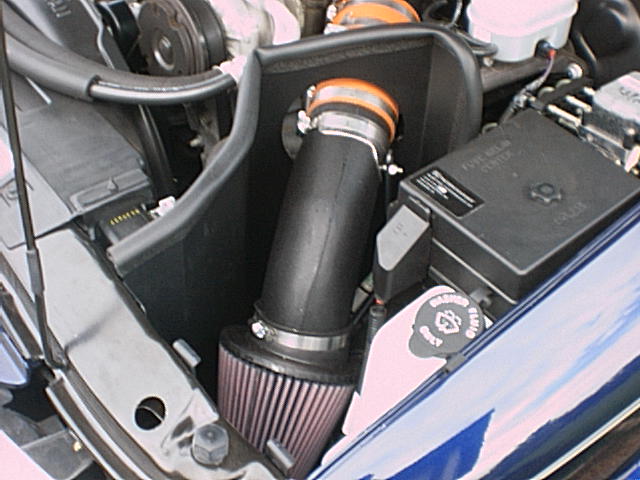
This is the lower intake tube.
This piece comes from the other side of the mass air sensor and flows down into the filter. The filter has a sexy chrome end with K&N engraved on it, but you cant see it because it points down. |
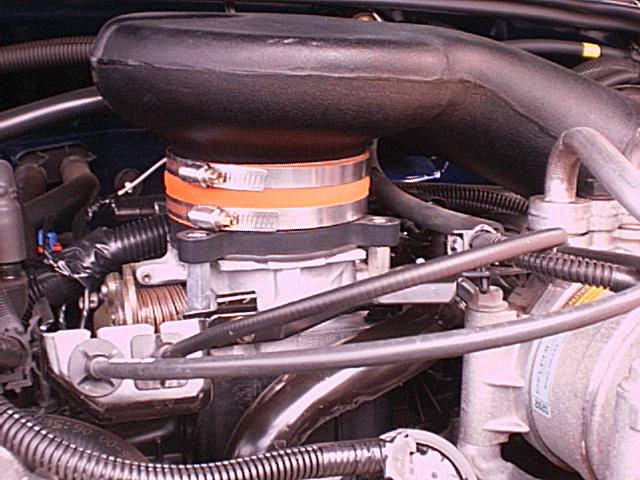
Here is a close up of how the tube attaches.
The two spacer nuts attach to the factory studs and the one on the back attaches the where the factory wing nut went. There are three bolts that attach the adapter plate to the nuts, with a gasket between. The orange hose slips over both and the worm clamps hold it down.
|
|
|
|
This is where the mass air sensor attaches
The hoses attach to each side of the sensor and clamp it down. Pay attention to your clamps, some are 110 mm and the others are 95 mm. The two for the adapter plate are much larger. The 95 mm clamps attach the hose piece to sensor. The 110 mm clamps attach the hose too the intake tube and the filter to the tube. A 95 mm clamp will not fit over the filter (I found this out the hard way). The sensor has a sticker on it with to arrows pointed in the flow direction. The arrows must point towards the throttle body for proper operation. |
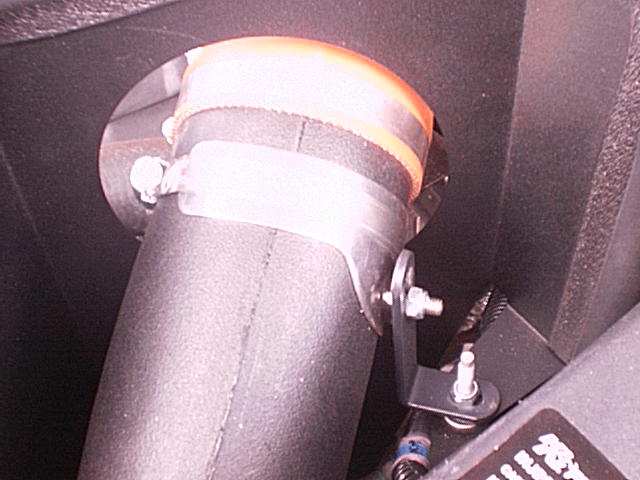
This is a close up of the attachment bracket
It attaches to the factory stud that held down the airbox. I think I used a 95 mm clamp here also. It uses the countersunk (or flathead) screw. The bracket is pressed so the screw fits flat, and a special insert make the back of the bracket flat where it attaches to the angle on the stud.
|
|
|
|
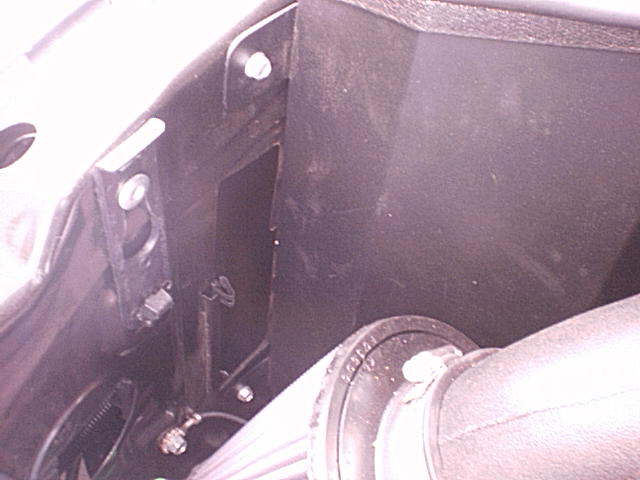
Attachment of the heat shield to the radioator support.
These are the only two holes that have to be drilled. The top hole is already started, but the bottom must be marked, center punched and drilled. This is a big pain, because there is not much room between the support and the inner fenderwell. |